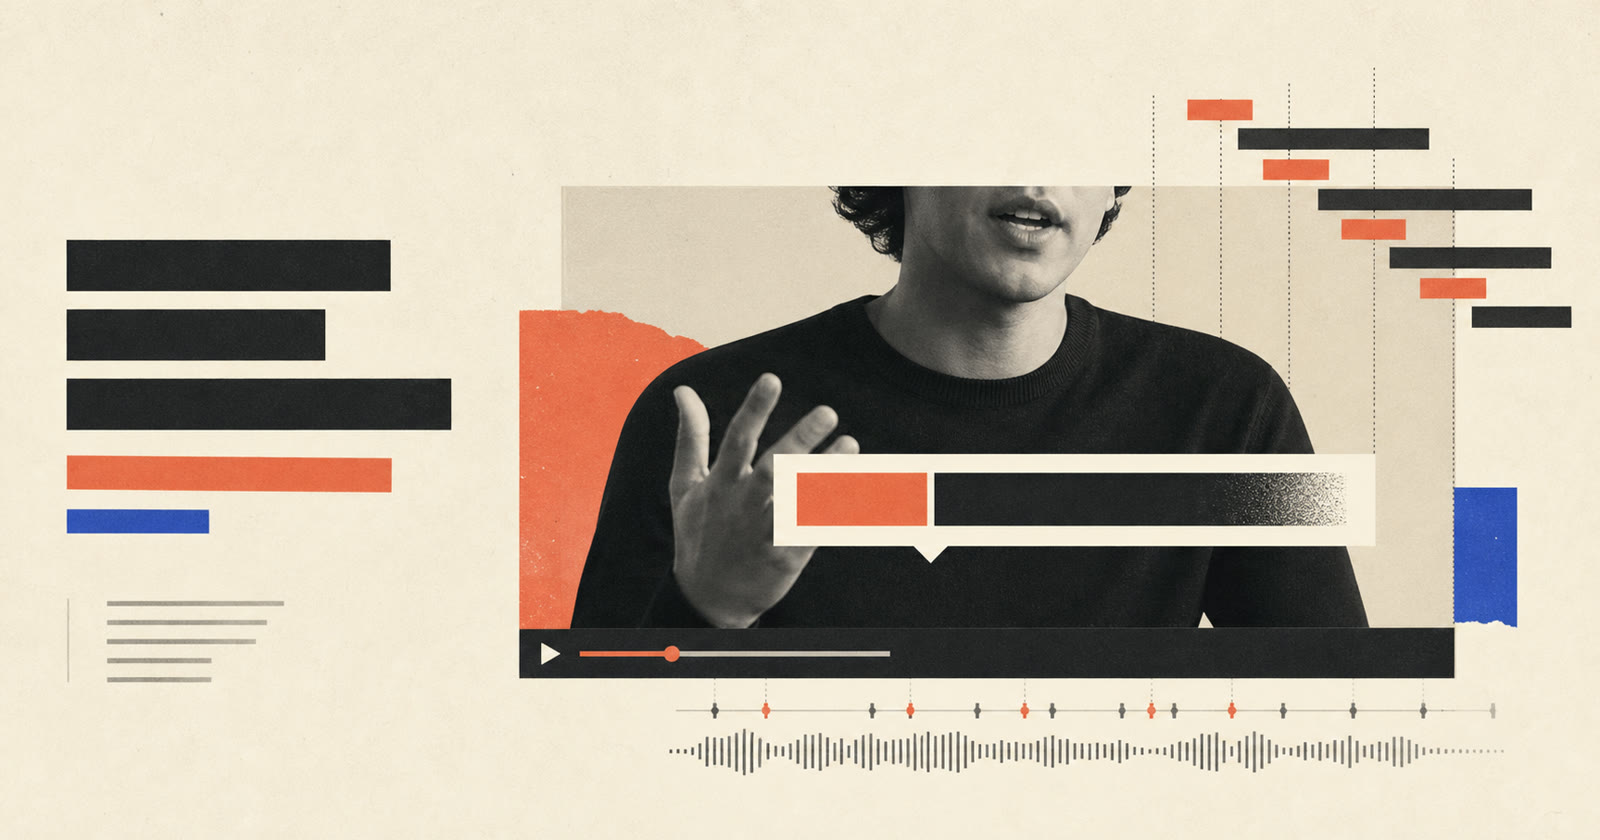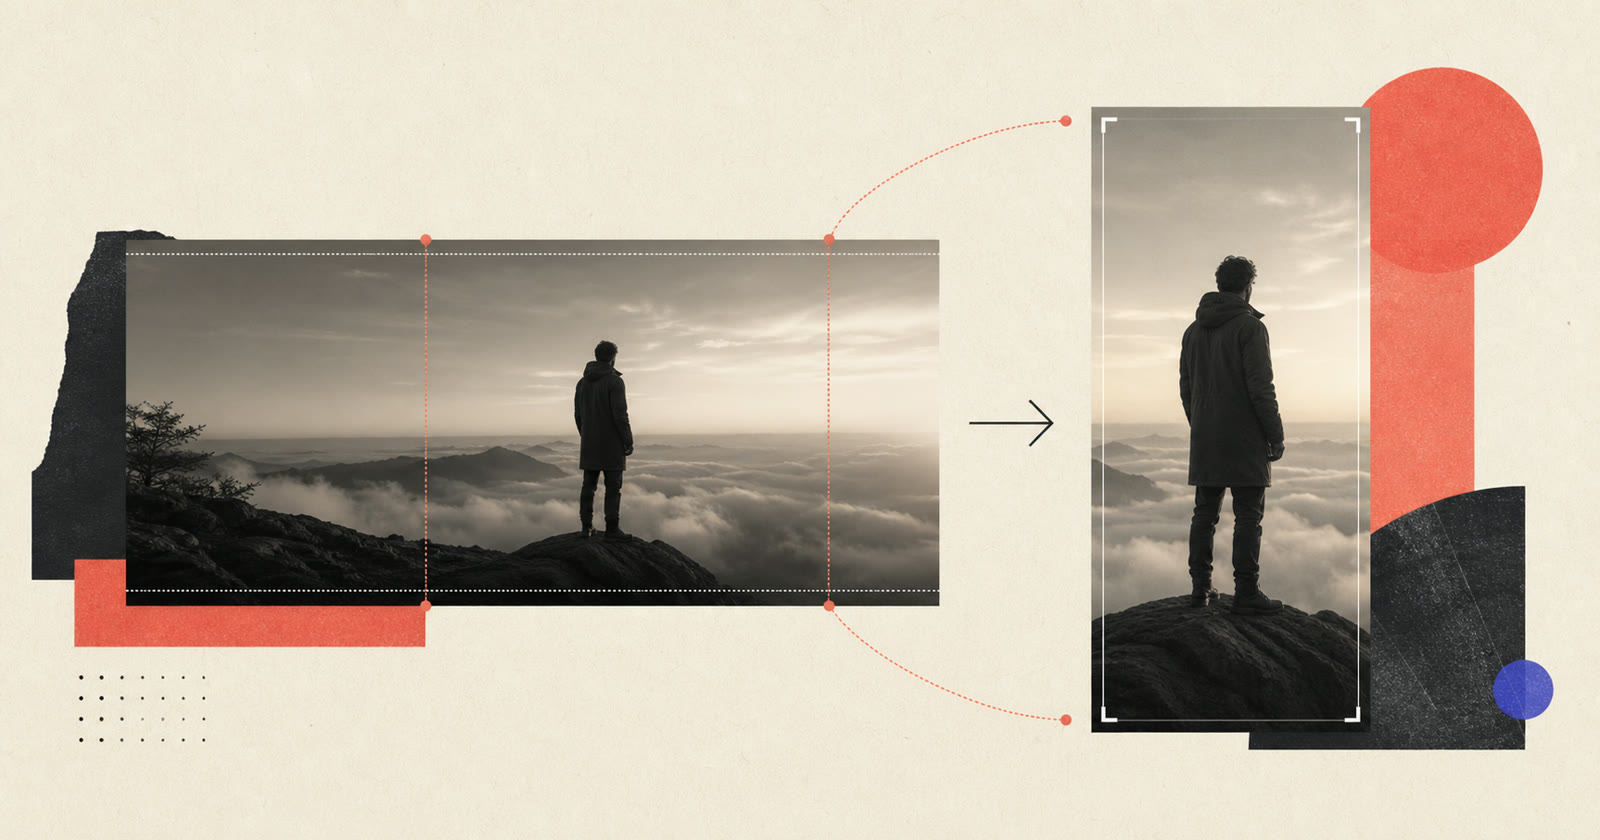
To reframe horizontal video for vertical output, create a 9:16 sequence, identify what each shot is asking the viewer to look at, track that subject inside the new frame, and rebuild any text or graphics that no longer fit. A single centered crop works only when the important content stays near the center for the entire video.
Automatic reframing can propose motion and crop positions. The reliable workflow reviews those proposals shot by shot because the important subject can change from a person to a product, screen recording or diagram.
The short workflow
- Duplicate the approved horizontal sequence.
- Set the target to 9:16, commonly 1080 × 1920.
- Mark the visual priority of every shot.
- Apply automatic or manual tracking per shot.
- Split shots when the visual priority changes.
- Rebuild captions, titles and graphics for the narrow frame.
- Preview with platform controls and export settings.
Adobe's current Auto Reframe workflow similarly creates a duplicate sequence and lets editors choose a target aspect ratio or resolution. Duplicating first protects the horizontal master and makes the vertical version independently editable.
Cropping and reframing are different
A crop removes the left and right portions of a frame. Reframing decides which part should remain visible over time.
If a speaker walks from one side to another, a static crop may lose them. If a screen recording points to a menu on the right, face tracking may keep the presenter visible while hiding the actual instruction. Reframing therefore needs a semantic decision: what is the evidence or action in this moment?
Research such as RAVA treats video reframing as more than object tracking. Open-world footage can contain changing subjects and editing intent, so an agent may need textual and visual context to decide what deserves the frame. In production, that still leads to a simple review question: can the viewer see the thing the sentence refers to?
Define visual priority shot by shot
Give each shot one primary target:
- Speaker: the face and gesture carry the meaning.
- Interaction: hands, a product or a physical demonstration matter most.
- Interface: a cursor, menu or region of a screen recording is the evidence.
- Graphic: a number, chart or quotation must remain readable.
- Relationship: two people or two objects need to be seen together.
This label makes reframing decisions explainable. It also helps when an automatic result fails: the model may have tracked the most salient object rather than the editorial target.
Choose the right vertical composition
One subject, stable position
A centered or slightly offset crop may be sufficient. Leave enough headroom, and reserve space for captions rather than filling the complete frame with the face.
One subject, moving position
Use smooth tracking, but avoid constant micro-corrections. A frame that drifts on every movement feels unstable. Hold the composition when the subject remains inside an acceptable zone, then move only when necessary.
Two speakers
Keeping both people in one narrow crop may make each face too small. Depending on the conversation, use a stacked layout, alternate between active speakers, or cut to a wider two-person view for reactions. Do not switch on every short interjection; visual ping-pong can be more distracting than a stable two-shot.
Screen recordings
Do not shrink a full desktop screen until the text becomes unreadable. Crop to the region used by the narration, then move between regions at meaningful action boundaries. When the interface context is important, use a designed layout with a magnified detail instead of a continuous pan.
Slides and charts
Most 16:9 slides are not readable inside a 9:16 frame. Rebuild the key claim as a vertical graphic, show one chart region at a time, or place the speaker and visual in a deliberate split layout. The same editorial rules used for B-roll and graphics apply here: a visual should clarify the current sentence, not merely fill space.
Split a shot when the target changes
One source shot can require several crop decisions. For example, a presenter introduces a product, points to its control, and then reacts to the result. The correct target moves from face to product detail and back.
Split at a natural action or sentence boundary, then give each segment its own framing. This is often cleaner than creating a long keyframed camera move. If the movement itself communicates the relationship between two objects, keep it; otherwise a motivated cut is easier to follow.
Captions and safe areas need a new pass
Horizontal captions cannot simply be scaled down. The narrower measure changes line breaks, type size and the area available around a face. Rebuild them for the vertical frame using the animated caption workflow.
Preview the composition with approximate platform overlays. Buttons and engagement controls often occupy one side, while descriptions and account details cover the bottom. Keep essential faces, words and product controls out of these regions.
YouTube currently classifies eligible square or vertical uploads up to three minutes as Shorts for standard channels when they meet its stated upload-date rules. That platform rule may change, so confirm current requirements before building a batch workflow around duration alone.
Review automatic reframing
Watch the result once without judging the original edit. The vertical version is a new composition, not a proof that the horizontal cut was correct.
Check for:
- Faces clipped at the forehead or chin.
- Hands leaving the frame during an important gesture.
- A crop following the wrong person during an interview.
- Cursor actions or product details disappearing off-screen.
- Overactive camera movement caused by small subject motion.
- Caption and graphic collisions.
- Cuts that reveal a sudden framing jump.
- Low-resolution regions enlarged beyond acceptable quality.
Then scrub through cut points. Automatic tracking can look reasonable during playback but jump several pixels between adjacent segments.
Export without creating avoidable quality loss
Set the vertical sequence dimensions before export rather than exporting horizontal footage and asking the platform to crop it. Keep the original frame rate unless there is a specific delivery reason to change it. If the source is only 1080 pixels high, a tight vertical crop may have less detail than a native vertical recording; aggressive sharpening will not restore missing resolution.
For a repeatable repurposing workflow, keep the horizontal master, vertical composition and caption layout as separate editable outputs. An automatic video editor can prepare candidate crops and visual blocks, while the final pass confirms that each shot still communicates its intended evidence.
Common reframing failures
| Symptom | Cause | Better decision |
|---|---|---|
| Subject drifts constantly | Tracking reacts to every movement | Use a stable zone and fewer corrections |
| Product demo is missing | Face was treated as the only target | Label the interaction as visual priority |
| Two speakers look tiny | Wide shot squeezed into 9:16 | Stack, alternate or use a designed layout |
| Screen text is unreadable | Full desktop was scaled down | Crop to the active region or magnify details |
| Captions cover the face | Horizontal layout was reused | Rebreak and reposition for vertical safe areas |
| Cut points jump | Segments use unrelated crop positions | Match framing across the edit or motivate the change |
Frequently asked questions
What size should a vertical video be?
A common delivery size is 1080 × 1920 pixels at a 9:16 aspect ratio. Confirm the current requirements of the destination platform and preserve the source frame rate unless a delivery specification says otherwise.
Can AI automatically convert every horizontal video to vertical?
AI can propose crops and track visible subjects, but each shot still needs review. The editorial target may be a product, cursor or graphic rather than the most visible face.
How do you convert a two-person podcast to vertical video?
Use a stacked layout, a stable two-shot, or alternate active speakers at meaningful turn boundaries. Avoid switching on every short interjection, which creates distracting visual ping-pong.